Building the Avid Pro: Mounting a square spindle
- Phil Barrett
- Jun 16, 2021
- 2 min read
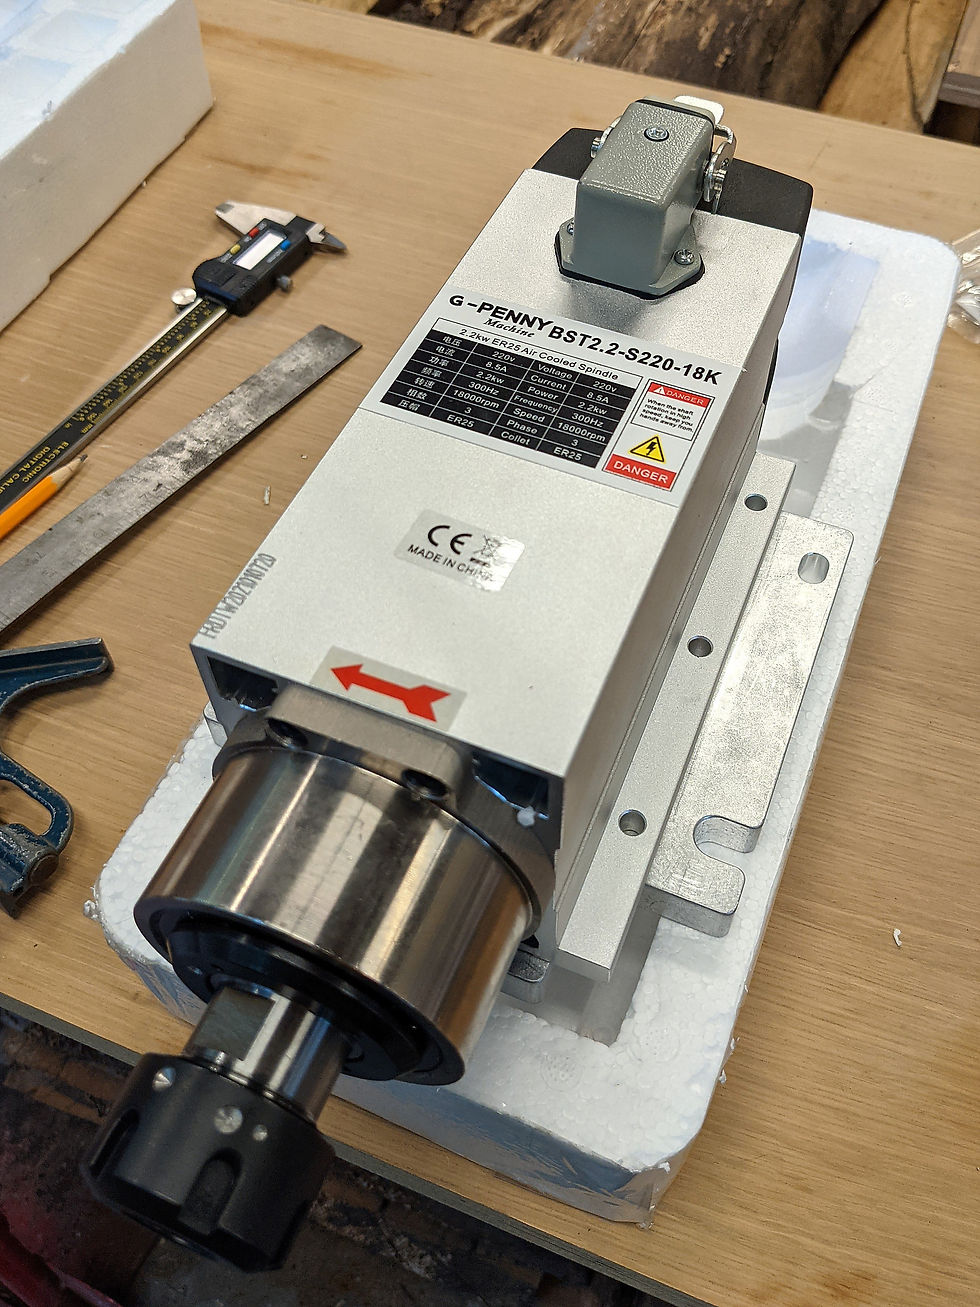
I bought a 2.2 KW Air Cooled ER25 spindle for my CNC router. After reading a lot of reviews and comments, I settled on the G-Penny model. It is not as powerful as the one Avid is selling but it cost dramatically less. I wanted air cooled because my shop is unheated and we get occasional freezing weather. A water cooled spindle would require too much fussing. Unfortunately, its mounting flange holes did not line up with any holes on the Avid Tramming mounting plate so I had to drill and tap holes to be able to use it. The tramming mount allows for easy adjustment in the X-Y plane. Given that I struggled with tramming my first router, it seemed like a worthwhile investment. So, in 11 pictures, this is how I mounted my spindle on the tramming plate. But before that, I am no machinist so this was a bit of a challenge. This worked for me but I'm sure there are better and faster ways to do it.
Here is the Spindle placed approximately where it should be on the tramming plate. The 6 holes on the spindle's mounting flange fit with little room to spare - approximately 6mm from the top and bottom edges of the tramming plate.

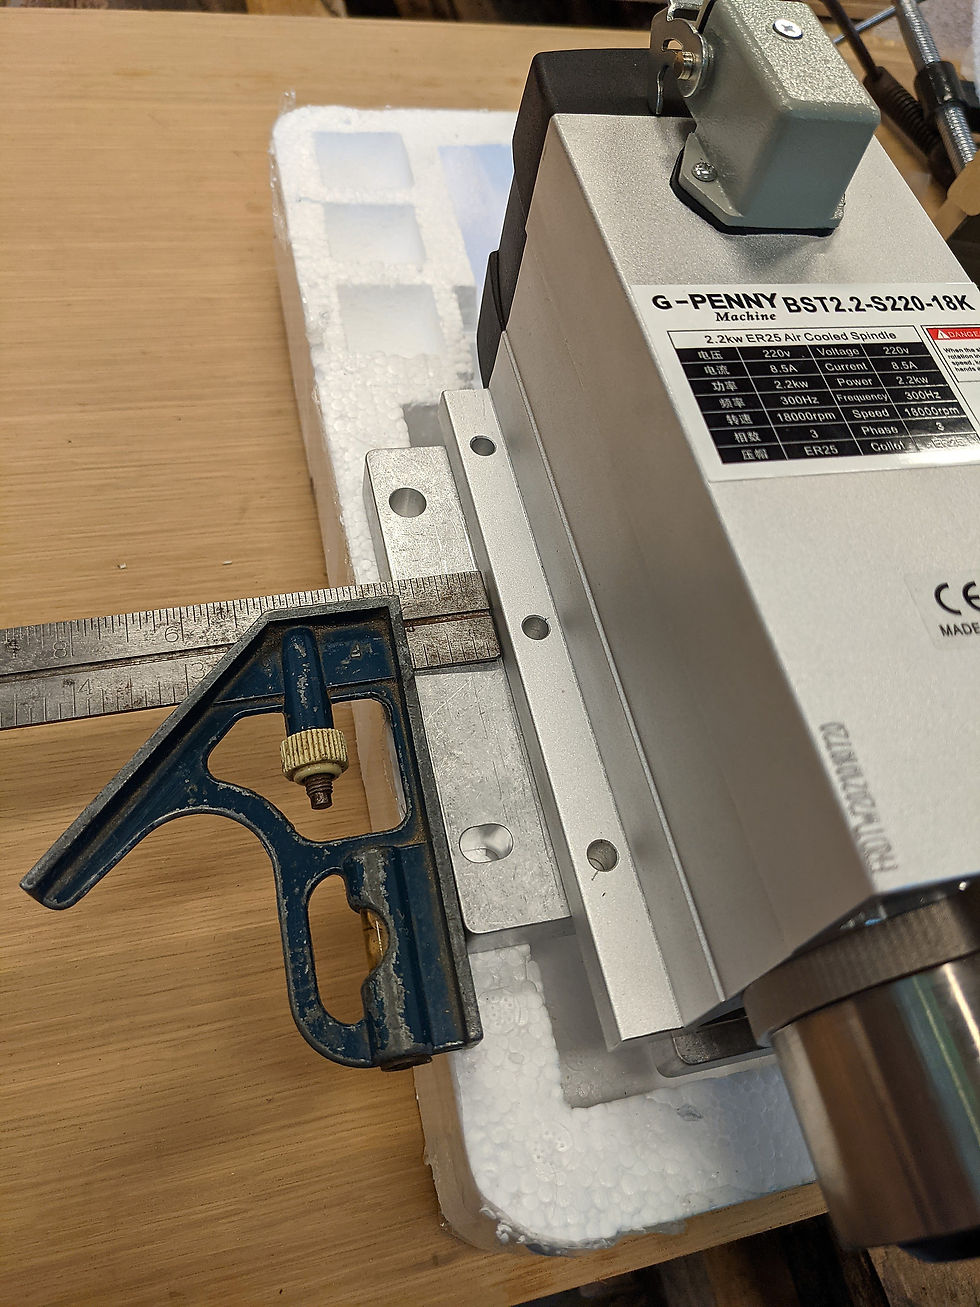
Next, I carefully aligned the spindle between the two sides and and top and bottom edges of the tramming plate. Yes, that is a woodworking square but it worked fine for getting the spindle centered. Plus, small errors won't matter because the holes in the flange are 6.4mm and I will be using M6 screws so there is some room for adjustment when bolting the spindle down. Plus, I can tram any remaining error out.

Using a pencil, I marked the holes being careful to keep the pencil vertical.

The marks came out pretty clean.

Centering the punch carefully, I made the mark. If you make a mark that is slightly off, you can adjust it by punching in the direction you need to go. Aluminum is forgiving that way. This prevents the drill bit from wandering.

Not too bad!

Time to drill. My M6 taps need a 5mm hole. I drilled a smaller pilot hole and then drilled the 5mm hole. Once done, I deburred the hole edges. A drill press is essential for getting straight holes.

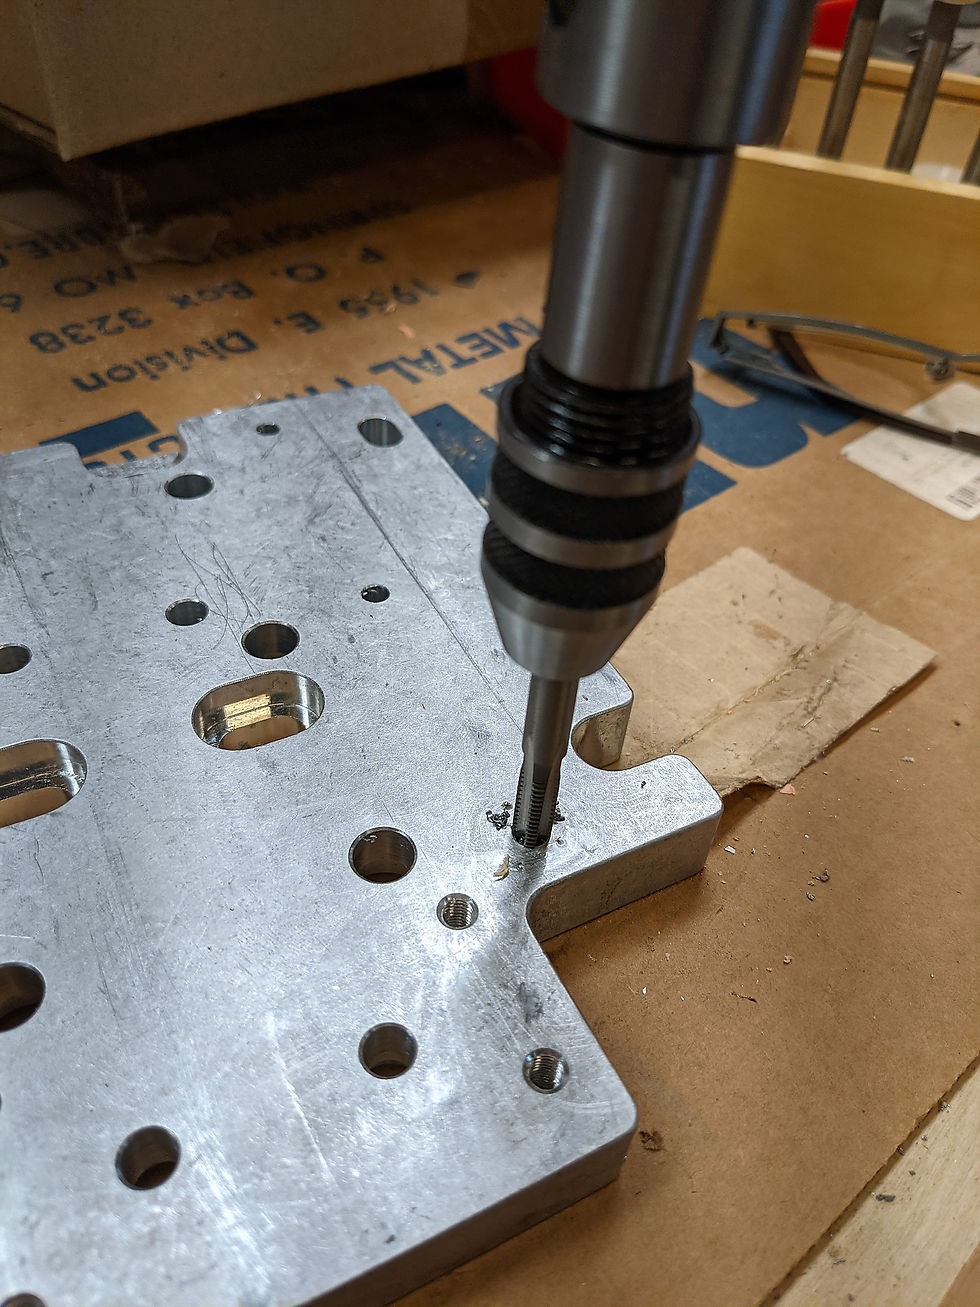
Time to tap. I used a taper tap as that made it fairly easy to keep the tap vertical while starting out. Tap oil helped a lot and for every quarter turn I backed it out a little. The plate is 16mm thick and 6 holes took a fair amount of work.

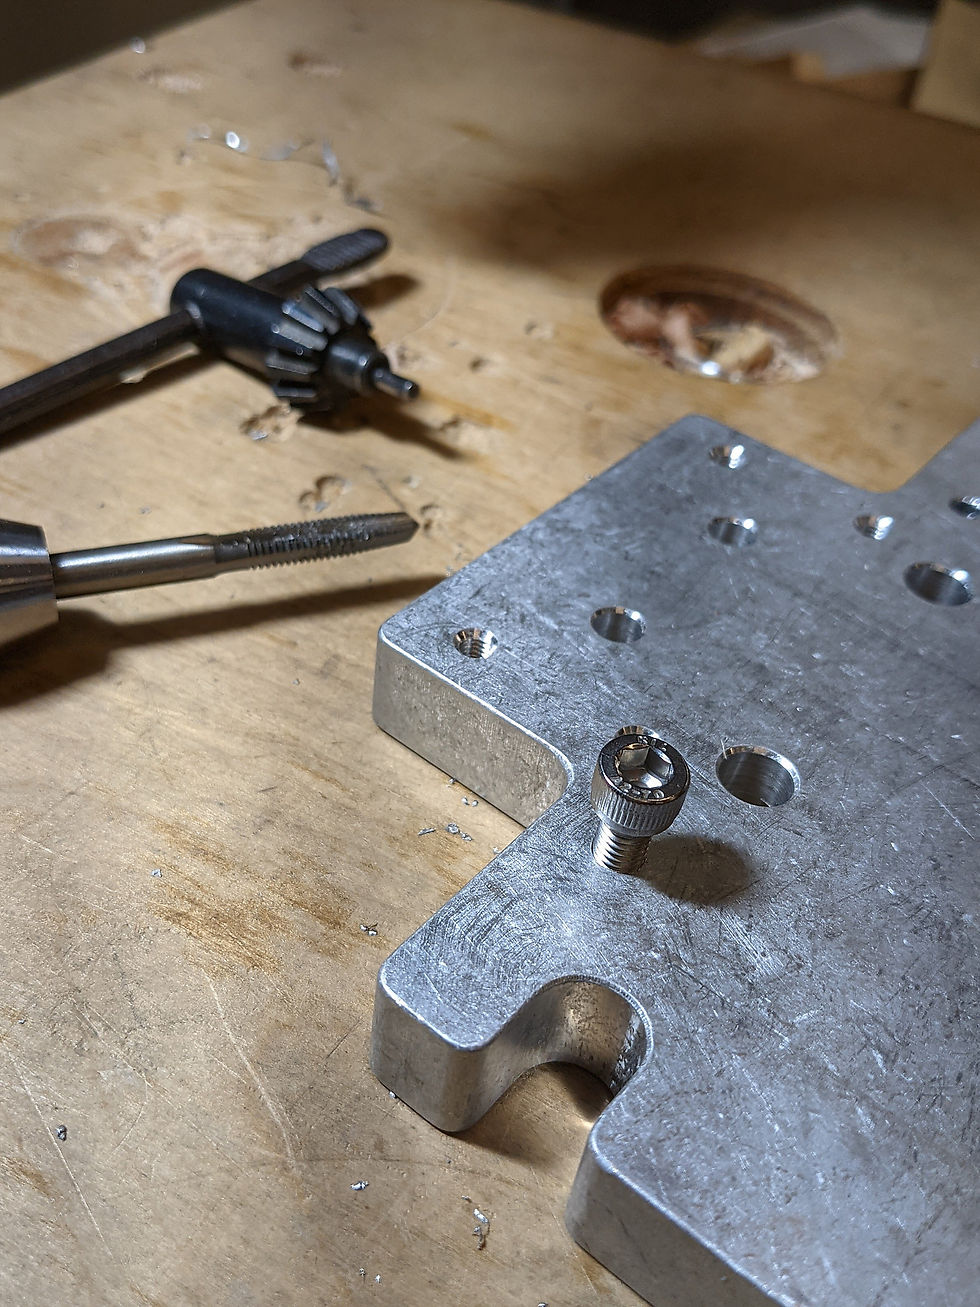
It worked! That's an M6 20mm screw. Perfect fit.

And the proof is in the screwing. All 6 holes were perfectly aligned. Very relieved at that.

Finally, the spindle is mounted on the Z Axis and ready for the next step. The strange looking bolt in the lower right is an eccentric bearing. When you turn it, the tramming plate pivots on the bolt in the upper left of the plate. The upper right and lower left bolt holes are elongated to allow the plate to move. A rather clever design, yet another reason to like Avid. I will still have to use shims to tram the spindle mount in the Y-Z plane but this helps a lot.

Recent Posts
See AllMultiple times a day, people ask for help with their CNC machine. Many supply enough detail for the experts in the group to give good...


Comments